Participant Check-in
This article will walk you through the process of checking in participants on the day of your event. This process can be eased slightly by your participants performing Pre-check-in as detailed in How Participants Sign Waivers & Complete Pre-check-in
Step 1
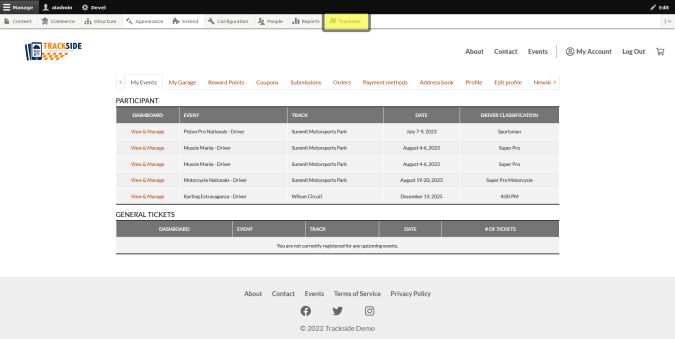
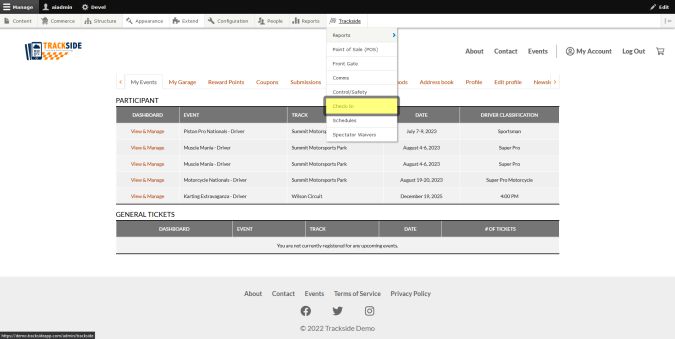
After signing in, Hover over Trackside. Alternatively you can click on this and it will take you to a separate page with the link for the next step on it. Click that link and you will get to Step 3 all the same.
Step 2
Click on Check-in
Step 3
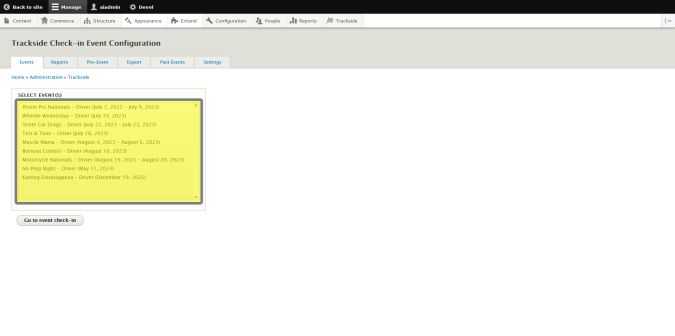
This will take you to a window where you're going to select the event you're doing Check-in for from the list of current events.
Step 4
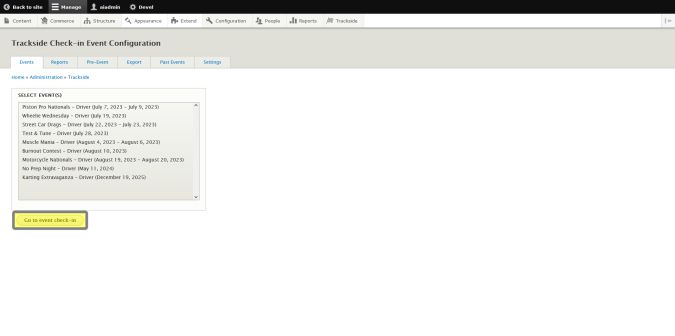
Once you find your event and select it, click on Go to Event Check-in below the list.
Step 5
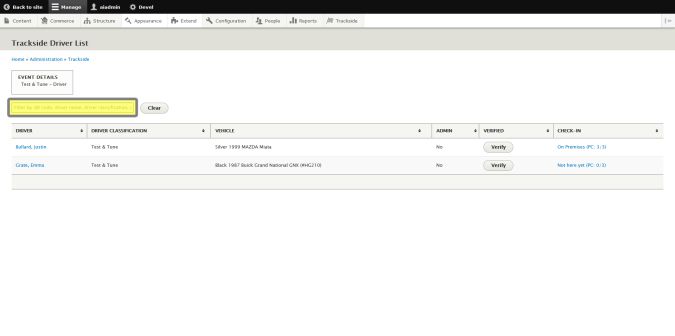
For finding participants within your list of drivers, there are a couple ways you may go about making finding specific drivers easier. The first is the search bar. You may search here by scanning the driver's QR code from their ticket, searching by name, vehicle, or class.
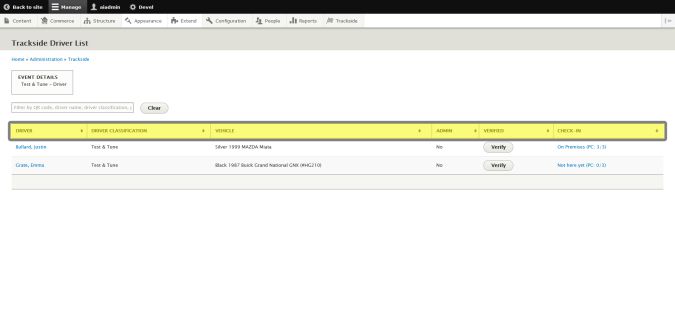
You may also sort the list by clicking on the column headings just above the list to sort by that parameter.
Step 6
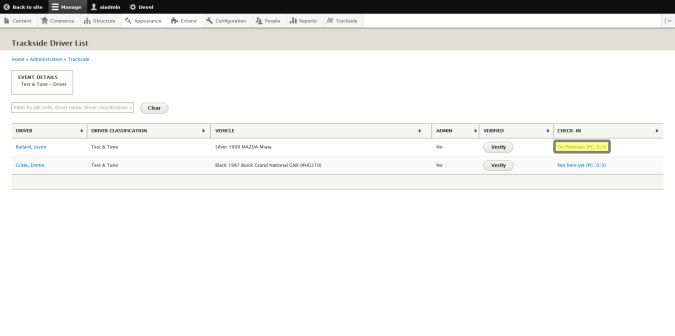
Once you have found your driver on the list, on the far right, you will see their Check-in Status. The variations you will see here are as follows:
Not here yet- Driver has not been checked in through Front Gate and is presumably not on site
On Premises- Driver has been checked in through Front Gate and is presumably on site
Continue Check-in- Driver has been through Front Gate, check in was started and not completed
Checked in- Driver has completed check in process
and the (PC x/3) will indicate how many of their Pre-Check-ins the participant has completed. 0 will indicate that haven't done them (waiver, tech form, Upload ID), 3 will indicate that they've completed them, and anything in between that some are done, but as a whole incomplete. Most frequently this will be due to lack of a license photo.
Click on their Check-in status and we'll begin their Check-in process.
Step 7
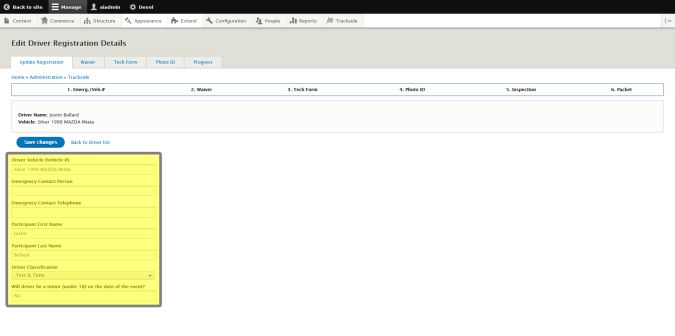
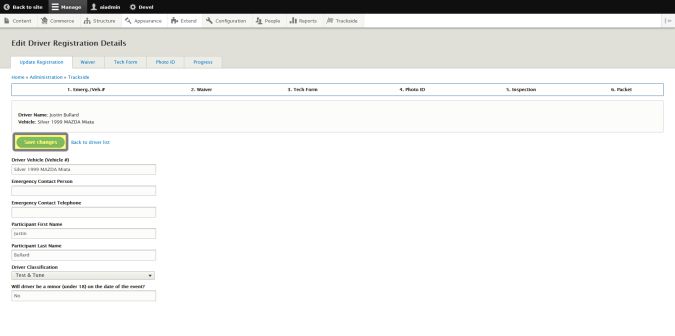
We'll start by verifying and updating their details as needed.
Step 8
Once you're satisfied with the information that's been entered, clicking the Save Changes button will save any edits and move you to the next step in the process.
Step 9
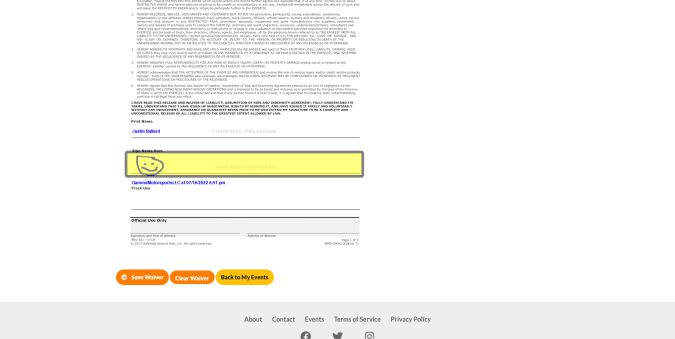
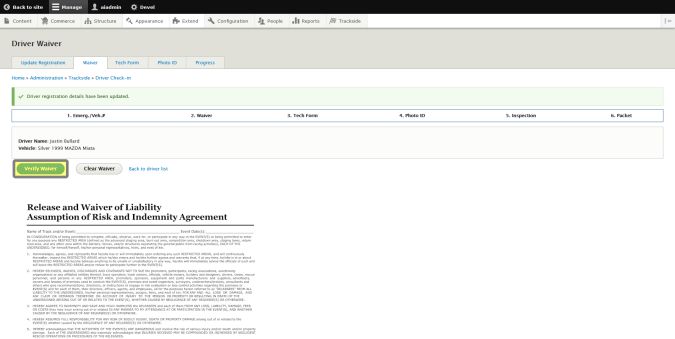
You will then move on to the waiver. You can verify that it's been completed if they've done their check-ins, and if not, the participant may sign their waiver at this time. Note your waiver will likely differ in appearance from what is shown here.
Step 10
Once the waiver is either signed or verified, you will click on either the Save Waiver or Verify Waiver button. This will auto update depending on whether the participant has done Pre-Check-ins.
Step 11
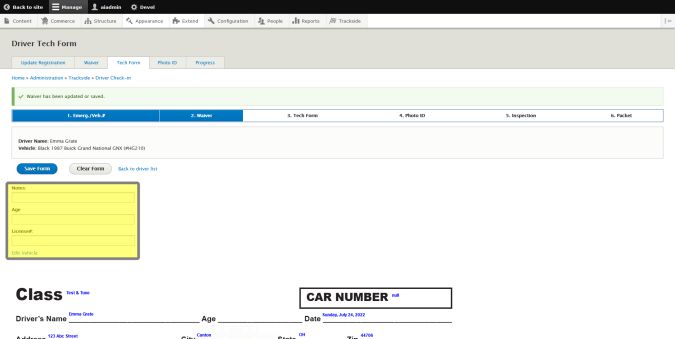
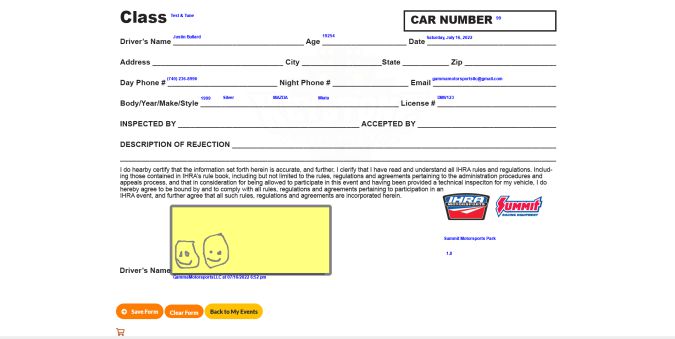
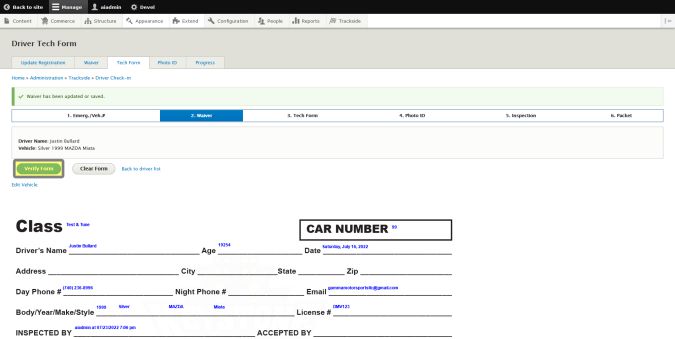
This will take us to the Tech Card. If Pre-Check-ins have not been completed, you will see the option to fill in the custom fields. If Pre-Check-ins have been completed and you need to edit the custom fields, click Clear Form, make your edits, and the Participant will have to sign the card again in the next step, otherwise, continue to the next step. Again, your Tech Card will likely vary from the one shown in the following steps.
Step 12
Next we will either verify the Participant has signed the waiver if they completed Pre-Check-ins, or have them sign it if the Tech Card is unsigned.
Step 13
Lastly for the Tech Card, once we are satisfied with completion of the card, we will click either Save Form or Verify Form dependent on the completion of Pre-Check-ins. This will also move us on to the next step.
Step 14
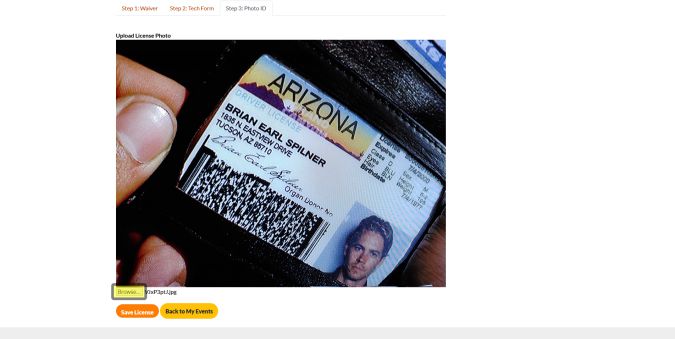
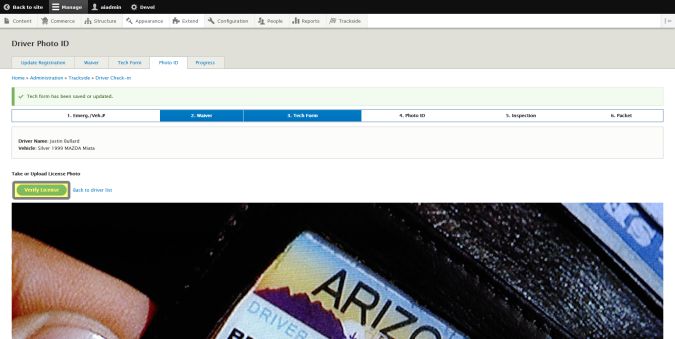
From here, if incomplete, you will likely be taking a picture of the Participant's Photo ID. You also have the option to browse your device for an image if needed.
Step 15
Once you have a photo of the Participant's ID, click either Save License or Verify License. This will also move us to the next step.
Step 16
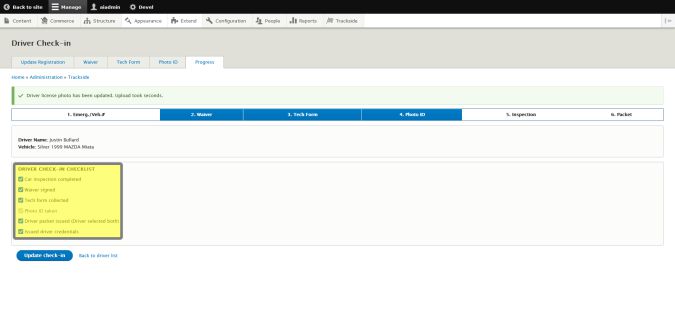
The next page will ask you to verify your Check-in Checklist is complete. Check all boxes once all steps are complete.
Step 17
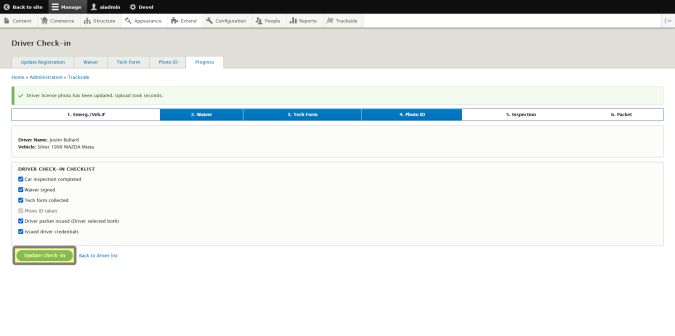
Clicking Update Check-in will update the status of the steps shown in the check boxes and complete our Check-in process.
Step 18
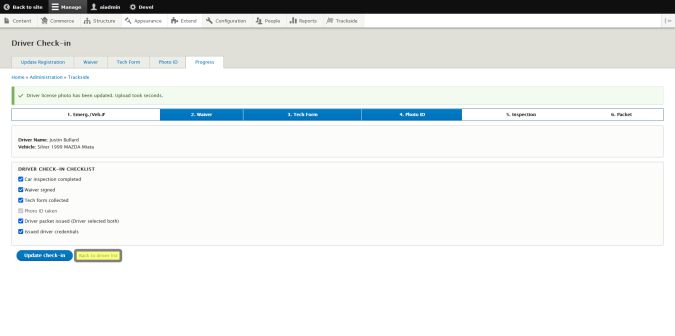
You will then have to click the Back to Driver List link once you're ready to return to the list and begin checking in the next driver.
Step 19
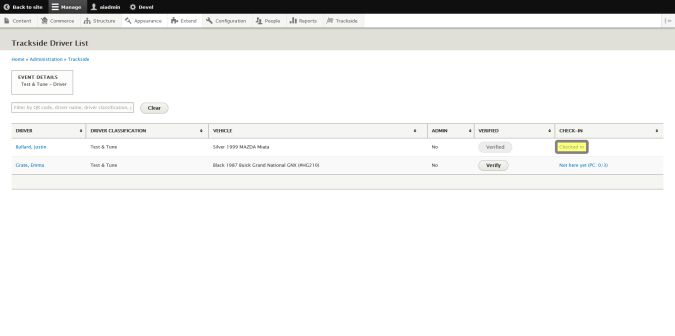
You can then see that the Participant's Check-in Status will be updated to Checked In
