Edit an Event Listing
Follow the instructions below to edit an Event Listing. It's important to understand the relationship between Event Listings and Products.
Edit the Event Listing to update:
- Title
- Day(s)
- Body
- Important Times
- Which Participant Registration Product is linked
- Participant Registration description
- Which General Ticket product is linked
- General Ticket description
- Event Image
- Password lock for event
- Profit/expenses for your analytics
- Publishing/Unpublishing your event from your Home Page
Edit the Products as described in Edit a Participant Registration Product to update:
- Title
- Day(s)
- Front Gate open hours
- Track
- Special Instructions
- Base Price
- Pricing
- Stock Levels
- Add Driver Classification/Ticket type -> Adding a Driver Class to an Event After Wizard Completion
Step 1
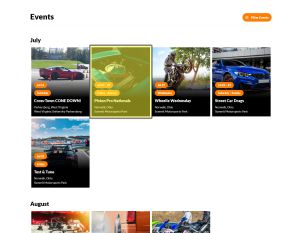
Click on the Event from your Default Trackside Home Page
Step 2
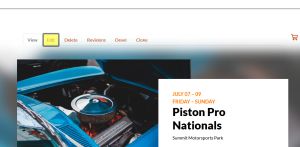
Click on Edit toward the top of your Event Listing.
Step 3
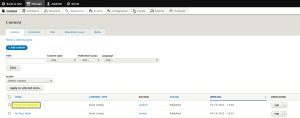
Alternatively, if you're having trouble finding the event on your Default Trackside Home Page to click on it from there, this is an alternative method to accomplish the same thing, similar to Viewing Unlisted Events. Once logged in, you may click on the Content tab to visit the Content Page. You may skip to Step 6 if you don't need this.
Step 4
From the Content Page, you can use the search function if you need, and you can click on the event name to accomplish the same as step 1 and take you to the Event Listing, but if we're just trying to edit, the next step will save you another click.
Step 5
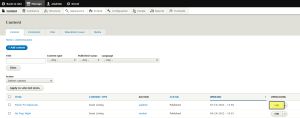
If we're just trying to edit the Event Listing, once you find the event in the list, instead of clicking on the name, you can just click on the Edit button on the right side of the page to bring you directly to step 6.
Step 6
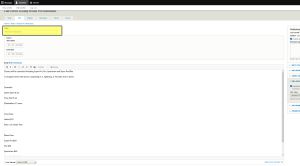
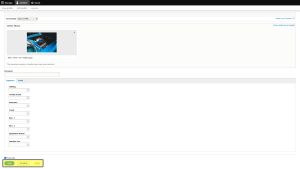
from here you will be able to make your edits, beginning with the Event Title
Step 7
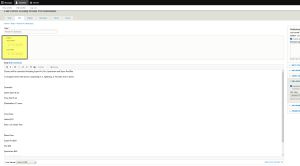
Edit the dates of your event
Step 8
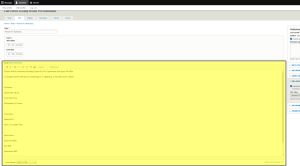
Edit the overall Body for your event
Step 9
Edit the Important Times for your patrons of your event
Step 10
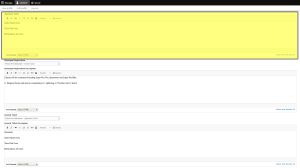
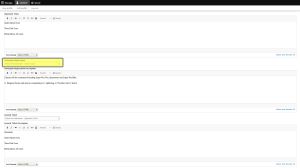
This is where you can change the Participant Product for your event. The Event Setup Wizard should take care of this for you and there shouldn't be much need to modify it, but in the case that it would need changed, this is where you would do that from.
Step 11
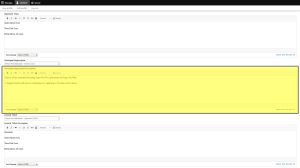
Edit the Participant Description for your event. This will be displayed in the pop up once your patrons click Purchase Tickets.
Step 12
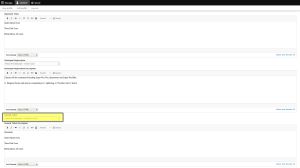
This is where you can change the General Ticket Product for your event. Again, the wizard should have this set up for you and would be a rare situation for it to need changed.
Step 13
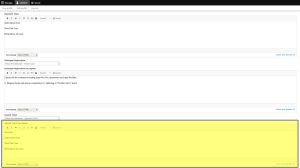
Edit the General Ticket Description. This will be displayed in the pop up once your patrons click on Purchase Tickets.
Step 14
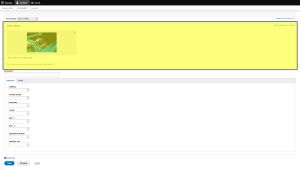
Edit the Event Image displayed on the Event Page and your Home Page
Step 15
Edit the Password for Purchasing event tickets. Normally you'll just leave this blank. If you want to make something like an invite only event or a reward for frequent customers (you can also offer coupons through our system) for instance, you may find use for this option.
Step 16
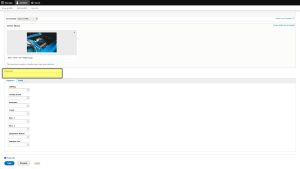
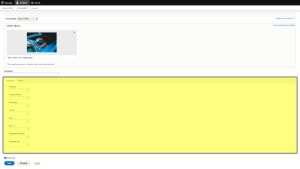
Make entries for your event profits and expenses. These will not be listed on the public page for your event, but will instead be used for data in your analytics you can see for your event. It's also fine if you leave this blank if you have no desire to see it in your reports.
Step 17
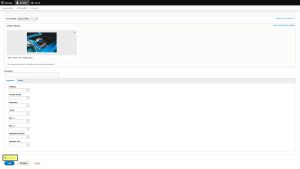
Publish or unpublish your event from your Home Page. This section of the page is small, but very important. From here you can choose whether or not to list an event on your home page, should you need to make edits or are just trying to get events pre-populated for the season but are not prepared to sell tickets just yet. If the box is not checked, patrons of your Trackside site will not see the event listed.
Step 18
Preview, save, or delete your event. If you want a preview of your changes, you may view them from here before overwriting the old version of your event. If you want to delete this event entirely, you may do it from here. Be aware this can't be reversed, and take into consideration whether you would like to keep information for analytic purposes, and if you've already sold tickets to the event. Be aware deleting the event will not delete the associated registration products. If you want to delete those, it is probably easier to delete those from your Event Listing, so it is suggested to delete those first before deleting your event. If you have already deleted your event, and still need to get rid of the associated registration products, please see Editing Products. Changes will not take effect to the event until you click save, published or not. If the event is published, the changes to your event viewable from the Home Page will take effect immediately.
