Adding a Driver Class to an Event After Wizard Completion
If you created an Event Listing with the Wizard, and while creating your Participant Registration Product, you forgot to add a class, or decided to add a class to the event after you initially set up the event, this guide will help you add a new class to your event. As a prerequisite, this class must already be available to be added to an event. See Creating Driver Classes for Your Events if you need help setting one up.
Step 1
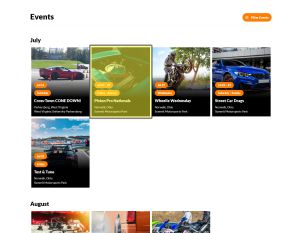
Click on the Event from your Default Trackside Home Page
Step 2
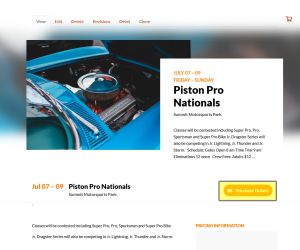
Click on Purchase Tickets from your Event Listing Page
Step 3
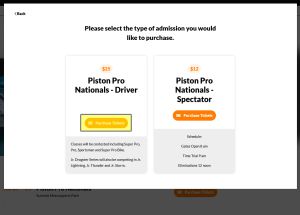
Click on Purchase Tickets for the Participant Registration from the pop up. This will take you to the Participant Registration Product Page.
Step 4
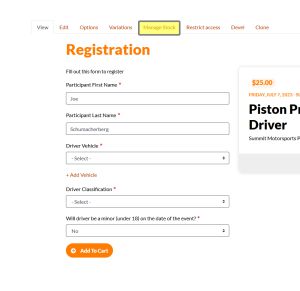
From the Participant Registration Product Page, click on Manage Stock.
Step 5
At the bottom of the page, you will see Add Driver Classification. Select your class from the drop down menu and the Driver Classification Price Modifier box will appear.
Step 6
You will now set your Driver Classification Price Modifier. It's important to understand that this is a modifier. If your base Driver price is $20 and this class needs to be $40, if you put $40 in here, it will make the price $60. You're modifying the price by making it an additional $20, so enter $20 in the box, and this will make the class cost $40. Also remember that negative numbers will work here as well if the class needs to be cheaper.
Step 7
Once your modifier is set, click Update and your class will be added to your Participant Registration Product.


