Difference between revisions of "Edit a Participant Registration Product"
| Line 58: | Line 58: | ||
===Step 8=== | ===Step 8=== | ||
Edit the body for your [[Participant Registration Product]] | Edit the body for your [[Participant Registration Product]]. | ||
[[File:EditParticipantProduct8Body.jpg|frameless|center|Edit Body]] | [[File:EditParticipantProduct8Body.jpg|frameless|center|Edit Body]] | ||
| Line 66: | Line 66: | ||
===Step 10=== | ===Step 10=== | ||
Upload an event Image from here. | Upload an event Image from here. This is left over from a previous version of Trackside and is currently not in use. | ||
[[File:EditParticipantProductEventImage.jpg|frameless|center|Event Image]] | [[File:EditParticipantProductEventImage.jpg|frameless|center|Event Image]] | ||
Once uploaded, the appearance of this area will change as highlighted below. | Once uploaded, the appearance of this area will change as highlighted below. | ||
| Line 72: | Line 72: | ||
===Step 11=== | ===Step 11=== | ||
You may upload forms from here. | You may upload forms from here. This is left over from a previous version of Trackside and is currently not in use. | ||
[[File:EditParticipantProductForms.jpg|frameless|center|Form Uploader]] | [[File:EditParticipantProductForms.jpg|frameless|center|Form Uploader]] | ||
Revision as of 03:09, 29 June 2022
Follow the instructions below to edit a Participant Registration Product. It's important to understand the relationship between Event Listings and Products.
Edit the Products to update:
- Title
- Day(s)
- Front Gate open hours
- Track
- Special Instructions
- Base Price
- Pricing
- Stock Levels
- Add Driver Classification/Ticket type -> Adding a Driver Class to an Event After Wizard Completion
Edit the Event Listing as detailed in Edit an Event Listing to update:
- Title
- Day(s)
- Body
- Important Times
- Which Participant Registration Product is linked
- Participant Registration description
- Which General Ticket product is linked
- General Ticket description
- Event Image
- Password lock for event
- Profit/expenses for your analytics
- Publishing/Unpublishing your event from your Home Page
Step 1
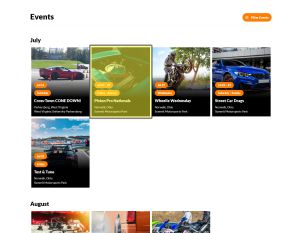
Click on the Event from your Trackside Home Page
Step 2
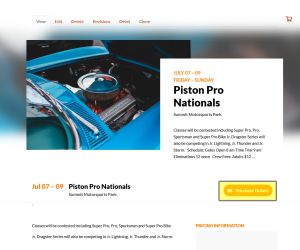
Click on Purchase Tickets from your Event
Step 3
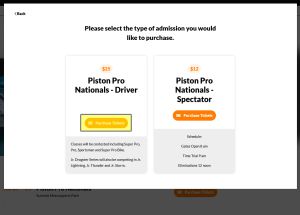
Click on Purchase Tickets for the Participant Registration from the pop up. This will take you to the Participant Registration Product.
Step 4
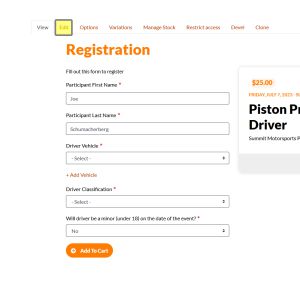
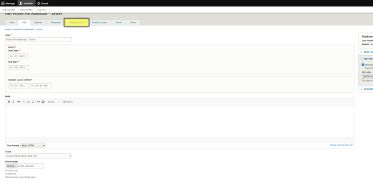
Clicking on the edit tab from here will take you to options to edit your Participant Registration Product.
Step 5
Edit your Title
Step 6
You can also edit the dates applicable for your tickets. Be aware this affects all of your driver's tickets and not just a single class. Editing this will be more appropriate for if you're not selling any driver's tickets for Friday when you have General Admission open, but will be for Saturday & Sunday, and not appropriate for if Jr Dragsters aren't running Friday.
Step 7
Update Front Gate hours. This section is important because this is when Trackside will begin accepting tickets for this event. If you try to scan tickets before this time, they will show as valid, but for a future event and will not be consumed. As a tip, if racers are showing up the night before, set this to the day before so you can check off their tickets and begin the check in process the night before. If your drivers are showing up the day of, make this maybe an hour before you expect your first drivers, as this will alleviate any troubles with early drivers.
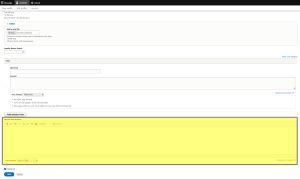
Step 8
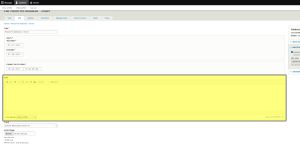
Edit the body for your Participant Registration Product.
Step 9
Edit the Track for your Event. Once you start typing, suggestions will populate below based on what tracks you have added to your Trackside. Clicking on them will autocomplete the track.
Step 10
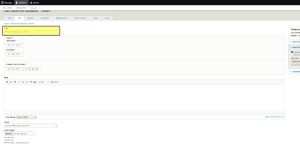
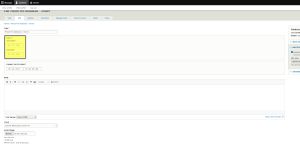
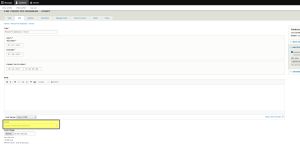
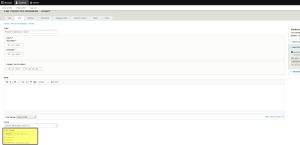
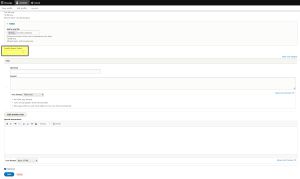
Upload an event Image from here. This is left over from a previous version of Trackside and is currently not in use.
Once uploaded, the appearance of this area will change as highlighted below.
Step 11
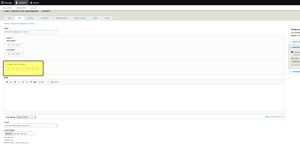
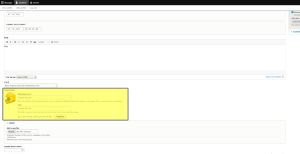
You may upload forms from here. This is left over from a previous version of Trackside and is currently not in use.
Step 12
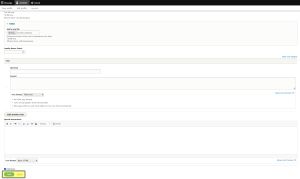
If you would like to assign points for your customer loyalty system for purchase of a Participant Registration Product, you may do so from here.
Step 13
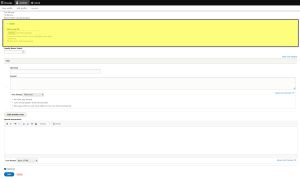
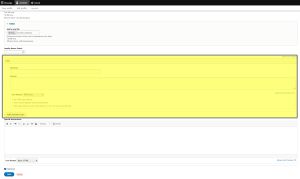
If you would like to add a FAQ section, you can do so from here. You have the option to add more Q&As by clicking Add Another Item at the bottom of the area.
Step 14
Update Special Instructions. Placeholder text
Step 15
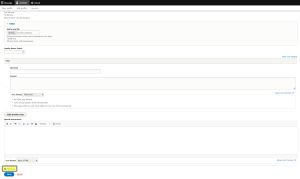
Publish or unpublish your Participant Registration Product from your event. This section of the page is small, but very important. From here you can choose whether or not to list your Participant Registration Products, should you need to make edits or are making corrections to what classes are going to be running at an event. If the box is not checked, patrons of your Trackside site will not see the Participant Registration Product listed in the pop up when they click on purchase tickets under the event.
Step 16
You will save your changes or delete your Participant Registration Products from here. If you want to delete this Participant Registration Product entirely, you will do that here. Be aware this does not delete your Event Listing and if you need a new Participant Registration Product, the easiest way to do it will be getting rid of the current event and going through the event wizard again. Changes will not take effect until you click save, published or not. If the Participant Registration Product is published, your changes will take effect immediately.
But we're not done yet! There's a little more customization you can do in the Manage Stock tab. Let's take a look at that really quickly while we're here!
From the Manage Stock tab you can:
- Update the Base Price
- Update Variation Prices
- Manage Stock
- Add driver classes - If you left one out, check Adding a Driver Class to an Event After Wizard Completion. For now we just want to get your basics set up.
Step 17
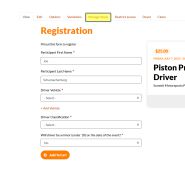
There's a couple ways to get here. If you're already in the tab to edit your Participant Registration Product you can simply click the Manage Stock tab from there. Don't forget to save your changes before you leave the Edit tab if you wanted to keep them! If you're getting here from the Participant Registration Product itself, then you'll find the Manage Stock tab a couple tabs over from the Edit tab there as well.
Step 18
Input the new Base Price, then click Change. Note that each Variation price will update according to the new Base Price. As a rule of thumb for ease of math, if your classes are going to have different prices, set your base price as the cheapest ticket amount and we'll make the others the prices they need to be in a moment.
Step 19
Update the number of tickets you want to sell for each class by changing the amounts in the blanks.
If you have a class you have an unlimited number of spaces for, you may select the Always in Stock check box and you will not run out of stock for that class.
Step 20
If you have different classes that the tickets are going to be priced differently for, you can set the final prices for those here. Note that if the base price is $25 and the class will cost $50 to participants, on the registration form when the participant chooses this class, it will show a +$25 next to this class.
