Difference between revisions of "Edit a Participant Registration Product"
| Line 64: | Line 64: | ||
Edit the Track for your Event. Once you start typing, suggestions will populate below based on what tracks you have added to your Trackside. Clicking on them will autocomplete the track. | Edit the Track for your Event. Once you start typing, suggestions will populate below based on what tracks you have added to your Trackside. Clicking on them will autocomplete the track. | ||
[[File:EditParticipantProductTrack.jpg|frameless|center|Edit Track]] | [[File:EditParticipantProductTrack.jpg|frameless|center|Edit Track]] | ||
===Step 10=== | |||
Upload an event Image from here. Placeholder text | |||
[[File:EditParticipantProductEventImage.jpg|frameless|center|Event Image]] | |||
Once uploaded, the appearance of this area will change as highlighted below. | |||
[[File:EditParticipantProductEventImageUp.jpg|frameless|center|Event Image Uploaded]] | |||
===Step 11=== | |||
You may upload forms from here. Placeholder text | |||
[[File:EditParticipantProductForms.jpg|frameless|center|Form Uploader]] | |||
[[Category:Getting Started]] | [[Category:Getting Started]] | ||
Revision as of 01:05, 22 June 2022
Follow the instructions below to edit a Participant Registration Product. It's important to understand the relationship between Event Listings and Products.
Edit the Products to update:
- Title
- Day(s)
- Front Gate open hours
- Track
- Special Instructions
- Base Price
- Pricing
- Stock Levels
- Add Driver Classification/Ticket type -> Adding a Driver Class to an Event After Wizard Completion
Edit the Event Listing as detailed in Edit an Event Listing to update:
- Title
- Day(s)
- Body
- Important Times
- Which Participant Registration Product is linked
- Participant Registration description
- Which General Ticket product is linked
- General Ticket description
- Event Image
- Password lock for event
- Profit/expenses for your analytics
- Publishing/Unpublishing your event from your Home Page
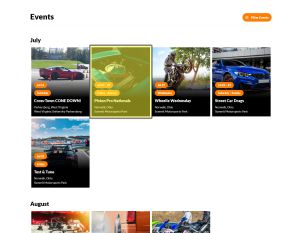
Step 1
Click on the Event from your Trackside Home Page
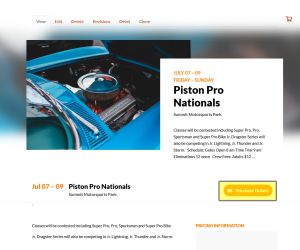
Step 2
Click on Purchase Tickets from your Event
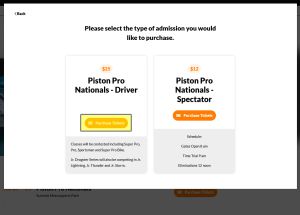
Step 3
Click on Purchase Tickets for the Participant Registration from the pop up. This will take you to the Participant Registration Product.
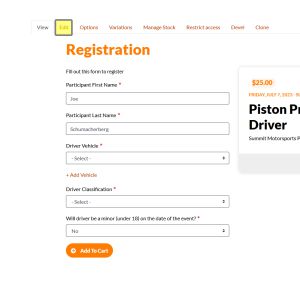
Step 4
Clicking on the edit tab from here will take you to options to edit your Participant Registration Product.
Step 5
Edit your Title
Step 6
You can also edit the dates applicable for your tickets. Be aware this affects all of your driver's tickets and not just a single class. Editing this will be more appropriate for if you're not selling any driver's tickets for Friday when you have General Admission open, but will be for Saturday & Sunday, and not appropriate for if Jr Dragsters aren't running Friday.
Step 7
Update Front Gate hours. This section is important because this is when Trackside will begin accepting tickets for this event. If you try to scan tickets before this time, they will show as valid, but for a future event and will not be consumed. As a tip, if racers are showing up the night before, set this to the day before so you can check off their tickets and begin the check in process the night before. If your drivers are showing up the day of, make this maybe an hour before you expect your first drivers, as this will alleviate any troubles with early drivers.
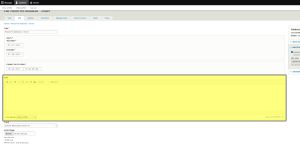
Step 8
Edit the body for your Participant Registration Product Placeholder text
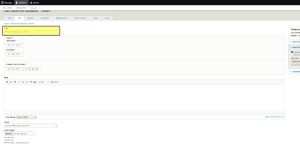
Step 9
Edit the Track for your Event. Once you start typing, suggestions will populate below based on what tracks you have added to your Trackside. Clicking on them will autocomplete the track.
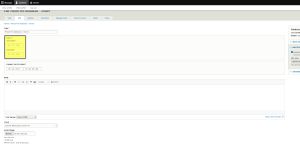
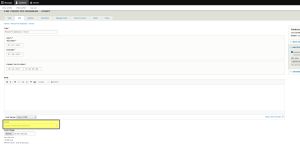
Step 10
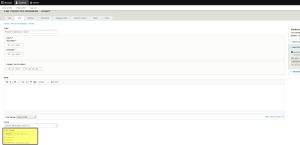
Upload an event Image from here. Placeholder text
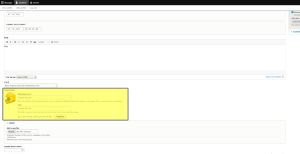
Once uploaded, the appearance of this area will change as highlighted below.
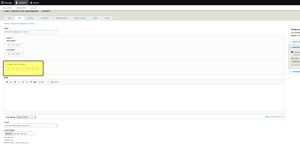
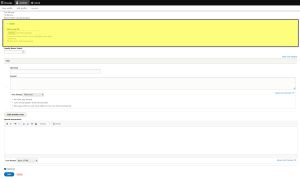
Step 11
You may upload forms from here. Placeholder text
