Difference between revisions of "Edit an Event Listing"
Jump to navigation
Jump to search
| Line 28: | Line 28: | ||
</br> | </br> | ||
</br> | </br> | ||
Step 1: Click on the Event from your Trackside Home Page | |||
[[File:HomePageClickEvent.jpg|frameless|center|Click Event]] | |||
Step 2: Click on Edit toward the top of your [[Event Listing]]. | |||
[[File:EditEventListingClickEdit.jpg|frameless|center|Click Edit]] | |||
Step 3: from here you will be able to make your edits, beginning with the Event Title | |||
[[File:EditEventListingTitle.jpg|frameless|center|Edit Title]] | |||
[[Category:Getting Started]] | [[Category:Getting Started]] | ||
Revision as of 18:26, 18 June 2022
Follow the instructions below to edit an Event Listing. It's important to understand the relationship between Event Listings and Products.
Edit the Event Listing to update:
- Title
- Day(s)
- Body
- Important Times
- Which Participant Registration product is linked
- Participant Registration description
- Which General Ticket product is linked
- General Ticket description
- Event Image
- Password lock for event
- Profit/expenses for your analytics
- Publishing/Unpublishing your event from your Home Page
Edit the Products to update:
- Title
- Day(s)
- Front Gate open hours
- Track
- Special Instructions
- Base Price
- Pricing
- Stock Levels
- Add Driver Classification/Ticket type
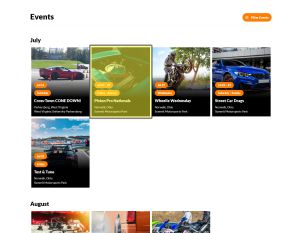
Step 1: Click on the Event from your Trackside Home Page
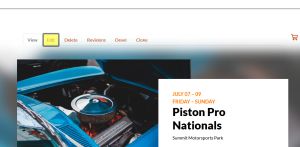
Step 2: Click on Edit toward the top of your Event Listing.
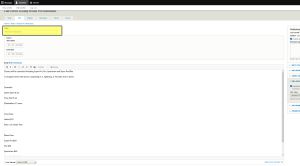
Step 3: from here you will be able to make your edits, beginning with the Event Title


